Studio Monitor Buyers Guide 2022
Intro
by Headsnack
Why do you need reference monitors?
When you create music, a great mix is crucial. You have to trust that what you hear and the way you mix is going to translate to any environment with any type of speaker. Most consumer audio speakers and headphones are designed to enhance the sound of a recording. When you mix or master with them, you may misrepresent frequencies which you are not hearing in their authentic form. Studio Monitors are designed with a flat response which means that what you hear is the actual recording without any polishing. Recording and mixing with proper monitors will lead to your mix sounding good on other sound systems, especially consumer audio.
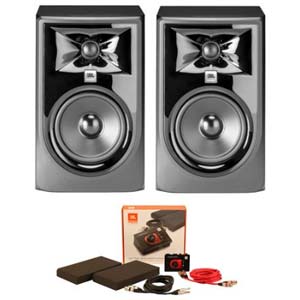
JBL 305P MKII 3 Series 5" Powered Studio Monitor With Starer Pack
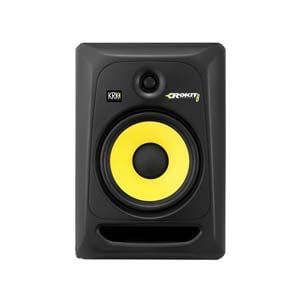
KRK Rokit 8 Generation 3 Powered Studio Monitor
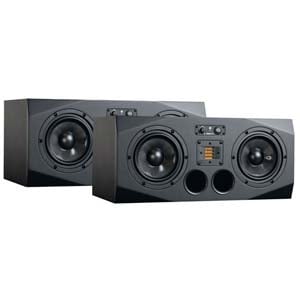
KRK RP10-3G3 Mid Field 3 Way Active Studio Monitor System Pair
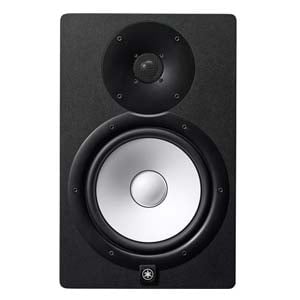
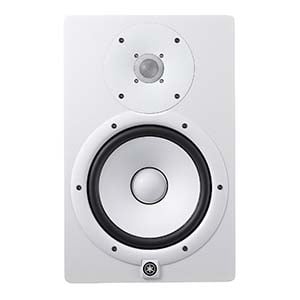
Yamaha HS8 8 Inch Powered Studio Monitor in Black
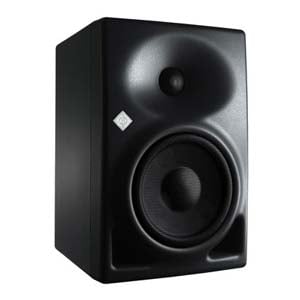
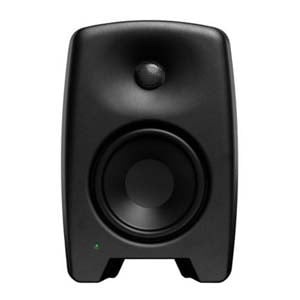
Neumann KH120 Active Studio Monitor
Adam Audio A77X Powered Studio Monitors - AB Pair
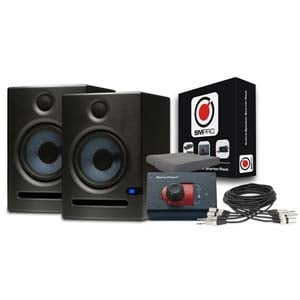
PreSonus Eris E8 Studio Monitors Package
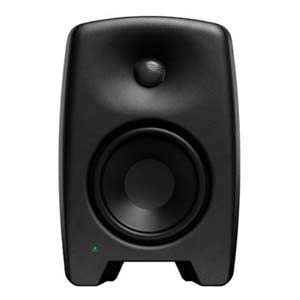
Genelec M030 Active Studio Monitor
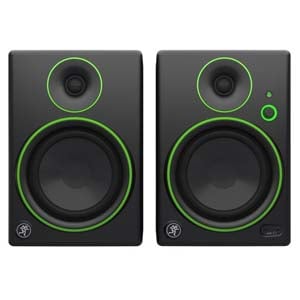
Mackie CR5BT 5 Inch 2 Way Powered Studio Monitors with Bluetooth Pair
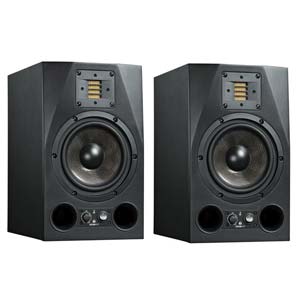
ADAM A3X 4 1/2" 2-Way Powered Studio Monitor With Ribbon Tweeter Pair
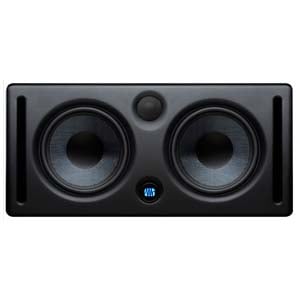
PreSonus Eris E66 Active Studio Monitor Dual 6 1/2 Inch Woofers
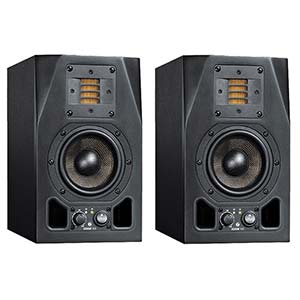
ADAM A7X 7" 2-Way Powered Studio Monitor With Ribbon Tweeter Pair
Types of Monitors
Studio monitors are available in two styles, active or passive. Active means the monitor has a built in amplifier specifically designed to power the speaker. Passive monitors require a separate amplifier to power them.
 Active
Active monitors are the most common on the market due to the advantages of their design. Rather than matching a monitor to an amplifier that is most appropriate, active monitors feature amplifiers specifically designed to meet the requirements of the speaker, providing a more efficient and transparent sound.
Active speakers have a compact design. Their high-quality sound is due to being bi- or tri-amplified with a built-in crossover. The crossover automatically sends the correct frequencies to the woofer (bass) and tweeter (treble). They are easily expandable by adding additional speakers for surround-sound monitoring, and do not require an external power amplifier. This makes them ideal for project/home studios. This also ensures they are cost-efficient, easy to connect, and since they are purpose-built and small, don’t require cooling fans.
 Passive
Passive monitors, while less common today were the main style available up until the mid-1990s. While there are fewer options currently available, there is a reason they are still being produced. Some studios may already have a large sum of money tied to outboard amplifiers, so a passive solution would integrate better for their needs. For others, it might be a budgeting issue where they will use a pre-existing amplifier.
The primary advantage of using non-powered monitors is that you can customize your system. You can select the monitor you love combined with the amplifier you love. There are disadvantages as well because powered signals may heat up the passive crossover components, which may change their characteristics. In addition, powered amplifiers require a cooling fan which will cause ambient noise.
When pairing an amplifier to a passive monitor, it is always a good rule of thumb to double the wattage of the amplifier to match the speaker’s requirements. For example, if a monitor requires 100 watts of power per side, pair it with a 400-watt amplifier. This will provide 200 watts per side, which is double the requirement. The extra wattage provides headroom for sounds that pop out in a mix, which translates to a more open sound. The other reason to double the power is that it will save the speaker from premature fatigue and failure. If the capabilities of a 100-watt amplifier are exceeded and fed to a speaker that matches its requirement, the speaker will reproduce distortion created by the amplifier.
The choice of active or passive is a personal one. There is no such thing as the ideal monitor system, your ears and personal style should be the judge.
Near-Field
Near-field monitors are designed to be listened to at a distance of 3 to 5 feet away from the speaker. At this distance, poor room acoustics become less important because the sound hits the ears before bouncing off other surfaces in the room. This style of monitor is most preferred in home recording studios where proper room acoustics aren’t an option. Close to all mixing is done with near-field studio monitors for this reason.
Near-field monitors are known for delivering a clean sound at lower SPLs (Sound Pressure Levels). They are placed at closer working distances to allow us to hear more of the direct sound & less of the room’s overall acoustics. They represent the sound that would be reproduced by the average home speaker system. For un-tuned rooms, they help create a more accurate monitoring environment.
Far-Field
Far-field monitors are used for higher volume listening and are directed toward the room rather than the mix position. They are generally placed at least 10 feet from the listener. In a properly designed acoustic environment they can also be useful for mixing as an alternate reference, or to simulate larger environments. Due to more space used for sound, monitoring with far-fields provides a different perspective in the dynamics that are heard, while providing more detail in both the low and mid frequencies. Also, because far-fields are not 'directed' or 'pointed' to a certain position like near-fields, they are useful for playback in other areas of the room where near-fields won't suffice. This type of monitor is typically not suitable for a home recording studio due to size, price, and need for an acoustically treated room to provide the proper sound.
JBL 305P MKII 3 Series 5" Powered Studio Monitor With Starer Pack
KRK Rokit 8 Generation 3 Powered Studio Monitor
KRK RP10-3G3 Mid Field 3 Way Active Studio Monitor System Pair
Yamaha HS8 8 Inch Powered Studio Monitor in Black
Neumann KH120 Active Studio Monitor
Adam Audio A77X Powered Studio Monitors - AB Pair
PreSonus Eris E8 Studio Monitors Package
Genelec M030 Active Studio Monitor
Mackie CR5BT 5 Inch 2 Way Powered Studio Monitors with Bluetooth Pair
ADAM A3X 4 1/2" 2-Way Powered Studio Monitor With Ribbon Tweeter Pair
PreSonus Eris E66 Active Studio Monitor Dual 6 1/2 Inch Woofers
ADAM A7X 7" 2-Way Powered Studio Monitor With Ribbon Tweeter Pair
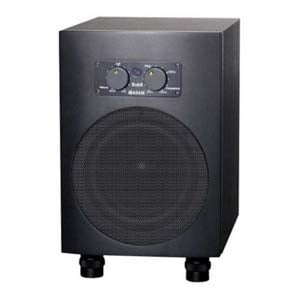
Subwoofers
 Subwoofers are designed to extend the response of an existing monitor system so that the low-frequency portion of the mix can be properly engineered. Their popularity is due to the prevalent use of home theater systems and commercial systems in clubs and cinemas. They provide the capability to identify and correct problems such as unwanted low frequency components, exterior noise, microphone rumble and vibrations. Best of all they feature built-in crossovers which pass the correct frequencies through to any connected near-field monitors.
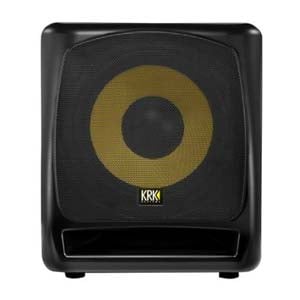
KRK 10S2 V2 10" 160 Watt Powered Studio Monitor Subwoofer
JBL LSR310S 10 Inch 200 Watt Powered Studio Subwoofer
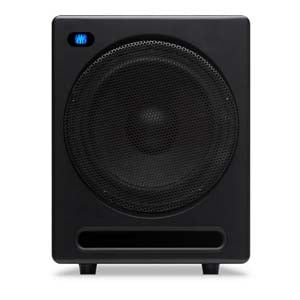
PreSonus Temblor T10 Active Studio Subwoofer
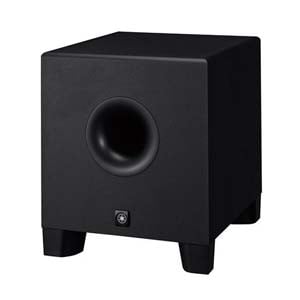
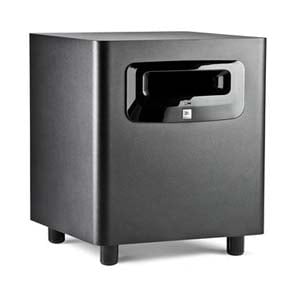
Yamaha HS8S 8 Inch Powered Studio Subwoofer
KRK 12S2 V2 12" 220 Watt Powered Studio Monitor Subwoofer
Adam Audio Sub8 Powered 8.5in Studio Subwoofer
Tweeter Technology
Most mixing decisions require surgical detail in the upper-mid and high frequencies in order to both create space and add life to parts that need focus. Because of this, most people feel that they need the most accurate technology when selecting a tweeter. When listening to loud music for extended periods of time, the human ear fatigues and dulls higher frequencies. If this happens during long sessions, the resulting mix will turn out brighter because of how the ear compensates for the sound. There are three common technologies most employed in tweeter design, and all have their own unique characteristics. Even though they may share similarities, their real sound results from how the manufacturer implemented this technology into the design.
Titanium tweeters are considered to offer very accurate and detailed reproduction of high frequencies because of how quickly they react to sound. This is appealing to many mastering and mix engineers that listen at lower volumes.
Soft dome tweeters, while not as accurate as titanium, provide a less fatiguing experience that will allow for longer mixing sessions at louder volumes.
Ribbon tweeters can be less accurate because their frequency response is less linear at different volumes. It is good practice to create consistency in volume between different mixes by using a dB meter. They make up for this deficiency because the listening sweet spot is dramatically widened, making it easier to make mix decisions with less phase anomalies. Phase anomalies occur when two or more pieces of audio interact in counter-intuitive ways, such as canceling each other out.
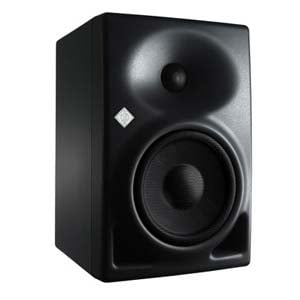
Neumann KH120 Active Studio Monitor
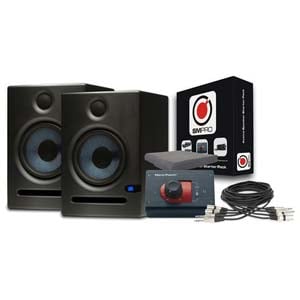
PreSonus Eris E8 Studio Monitors Package
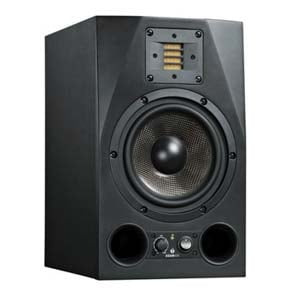
Adam Audio A8X Powered Studio Monitor
Genelec M030 Active Studio Monitor

KRK Rokit 8 Generation 3 Powered Studio Monitor
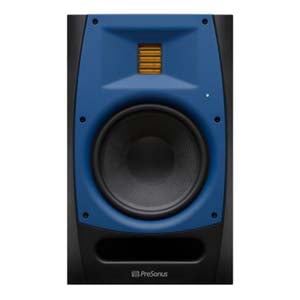
PreSonus R65 Active Studio Monitor 6 1/2 In Woofer With Ribbon Tweeter
Port Placement
Port placement is one of the most important design considerations in the construction of a studio monitor because it takes into account where you will place the monitor in the room. Ports are traditionally placed in either the front or back of the monitor, and their purpose is to tune the resonance of the speaker cabinet, while also providing ventilation.
Monitors with ports on the rear need to be kept at least 3 feet from the wall behind it in order to eliminate a build-up of low frequencies. This can limit the types of rooms that it will fit best. Some manufacturers combat this anomaly by outfitting the monitor with a user adjustable EQ switch.
Monitors with ports on the front, still shouldn’t be placed right against a wall, but can be closer than those with back ports. These will direct energy forward.
JBL 305P MKII 3 Series 5" Powered Studio Monitor With Starer Pack
KRK Rokit 8 Generation 3 Powered Studio Monitor
KRK RP10-3G3 Mid Field 3 Way Active Studio Monitor System Pair
Yamaha HS8 8 Inch Powered Studio Monitor in Black
Neumann KH120 Active Studio Monitor
Adam Audio A77X Powered Studio Monitors - AB Pair
PreSonus Eris E8 Studio Monitors Package
Genelec M030 Active Studio Monitor
Mackie CR5BT 5 Inch 2 Way Powered Studio Monitors with Bluetooth Pair
ADAM A3X 4 1/2" 2-Way Powered Studio Monitor With Ribbon Tweeter Pair
PreSonus Eris E66 Active Studio Monitor Dual 6 1/2 Inch Woofers
ADAM A7X 7" 2-Way Powered Studio Monitor With Ribbon Tweeter Pair
Monitor Placement for Listening
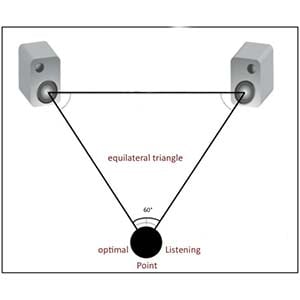 The ideal listening position, is to be positioned at the tip of a perfect triangle relative to your near-field monitors. If the speakers are placed 5 feet apart, there needs to be 5 feet from each speaker to your ears. Angle the monitors directly towards you while keeping the tweeters level with your ears. This provides a sweet spot in the listening area that reduces phase anomalies, which can blur higher frequency detail.
Placement of monitors in a room is crucial to how it will sound. They should never be placed directly beside a wall or in a corner because the monitor can couple with the surface of the wall and exaggerate lower frequencies. They should be placed on stands separate from your recording desk to isolate their vibrations. It also helps to distance them from reflective surfaces, and to place them at the appropriate listening height. Alternatively decoupling accessories can be used on your recording desk with your monitors. Decoupling is the prevention of undesired energy transfer.
JBL 305P MKII 3 Series 5" Powered Studio Monitor With Starer Pack
KRK Rokit 8 Generation 3 Powered Studio Monitor
KRK RP10-3G3 Mid Field 3 Way Active Studio Monitor System Pair
Yamaha HS8 8 Inch Powered Studio Monitor in Black
Neumann KH120 Active Studio Monitor
Adam Audio A77X Powered Studio Monitors - AB Pair
PreSonus Eris E8 Studio Monitors Package
Genelec M030 Active Studio Monitor
Mackie CR5BT 5 Inch 2 Way Powered Studio Monitors with Bluetooth Pair
ADAM A3X 4 1/2" 2-Way Powered Studio Monitor With Ribbon Tweeter Pair
PreSonus Eris E66 Active Studio Monitor Dual 6 1/2 Inch Woofers
ADAM A7X 7" 2-Way Powered Studio Monitor With Ribbon Tweeter Pair
Monitor Decoupling
Studio monitors emit vibrations that can travel through the surface on which they rest. This results in the surface resonating with unwanted frequencies, changing the overall sound of your monitors. AMS carries the following products which will help:
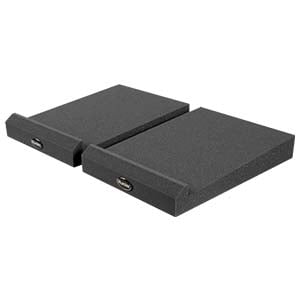 2. Auralex Mo Pads: Affordable solution to provide sonic isolation between your monitors and whatever they are resting on.
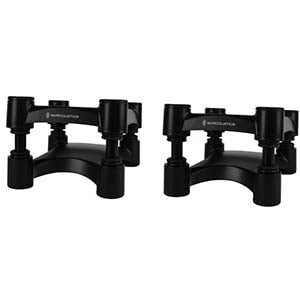 3. Isoacoustic ISO-L8R155: Audio speaker stand that not only decouples, but can also be height adjusted and angled for optimal listening. Available in multiple sizes.
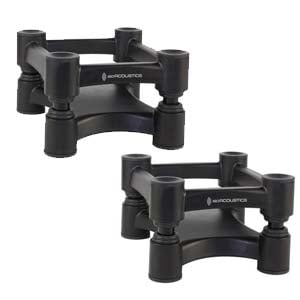
IsoAcoustics ISO-L8R130 Small Studio Monitor Stands

On Stage ASP3021 Foam Speaker Platforms Large
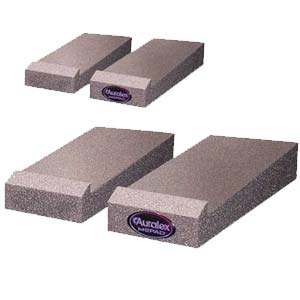
Auralex MOPADs Studio Monitor Isolation and Decoupling Riser Pads Pair
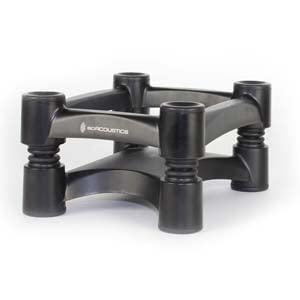
IsoAcoustics ISO-L8R200 Sub Studio Monitor Stand
Monitor Care
Electricity can prematurely fatigue studio monitors as well as add noise if they aren’t setup or used properly. Correct powering up and powering down can greatly extend the life of the monitor by removing audible pops created from the signal hitting the speaker. These pops fully extend the monitor very quickly which leads to fatigue and premature failure.
To avoid this, follow these steps when powering up:
1. Start by powering up everything except your monitors.
2. When everything is powered up, turn on the monitors.
3. To power down, reverse this process. (Turn off the monitors first, then the rest of your equipment.)
Many recording enthusiasts plug all electrical devices into the same power conditioner. This is not recommended unless they still intend to power cycle the monitors separately. Power conditioners still provide excellent protection from electricity and should always be used to help prolong the life of the speakers. Some higher-end units isolate the power banks to minimize inter-component interference and noise contamination.
Ground hum causes problems in a couple of ways. Its sound is distracting, and it also produces a constant sound that will prematurely fatigue speaker components over long periods of time if left uncorrected. Ground hum, while audible in the monitors, may be caused from any component connected in the system. If a system’s power is grounded at two different points, the difference between the two grounds can cause unwanted noise and hum in the circuitry. This is known as a ground loop.
Ground loops can be eliminated in one of two ways:
1. Remove one of the ground paths to convert the system to a single ground point.
2. Isolate one of the ground paths with an isolation transformer or balanced circuitry, or frequency selective grounding.
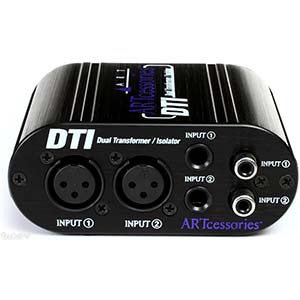 The most practical and cost effective method for consumer audio applications is to use an isolation transformer. An isolation transformer, such as the ART DTI is a device that allows all the desired signals to pass freely, while interrupting the ground to break ground loops. By using an isolation transformer, the ground noise will get trapped between the transformer windings and not pass through.
Many studios choose a more thorough approach to the problem by converting to balanced power. There are many scalable solutions to provide this, from rack mount balanced power strips that will power pieces locally all the way to commercial units that can power an entire facility.
For buzz and hum, the following troubleshooting should be done:
1. Check to see if a power cord is sagging out of an outlet. If the prongs on the plug are making intermittent or light contact on the inside of the outlet, it can cause hum. The best solution for this is to replace the outlet with an industrial version because they will hold power cables more securely.
2. Check to see if the polarity of the outlet is wired backwards by using a polarity checker. These are available at any hardware store.
3. Light dimmers, fluorescent lamps, and other appliances that share the same circuit or common ground with studio equipment is a common contributor to hum.
JBL 305P MKII 3 Series 5" Powered Studio Monitor With Starer Pack
KRK Rokit 8 Generation 3 Powered Studio Monitor
KRK RP10-3G3 Mid Field 3 Way Active Studio Monitor System Pair
Yamaha HS8 8 Inch Powered Studio Monitor in Black
Neumann KH120 Active Studio Monitor
Adam Audio A77X Powered Studio Monitors - AB Pair
PreSonus Eris E8 Studio Monitors Package
Genelec M030 Active Studio Monitor
Mackie CR5BT 5 Inch 2 Way Powered Studio Monitors with Bluetooth Pair
ADAM A3X 4 1/2" 2-Way Powered Studio Monitor With Ribbon Tweeter Pair
PreSonus Eris E66 Active Studio Monitor Dual 6 1/2 Inch Woofers
ADAM A7X 7" 2-Way Powered Studio Monitor With Ribbon Tweeter Pair
Monitor Management - Owning Multiple Pairs
Most musicians will listen to their mix in a car, on a mobile device, or with more than one type of studio monitor. Multiple frames of reference can help point out deficiencies in a mix, and having more than one pair of studio monitors could prove critical in the process.
Having alternate speaker configurations can complement the deficiencies of other monitors in your setup. If it’s for business, a selection of available monitors at the facility attracts customers who may be familiar with the specific sound of a monitor. Different monitors also have different strengths depending on the type of music being mixed. For example, a monitor with presence in the upper mid frequencies is excellent for mixing heavily layered recordings, and monitors with an extended low end are better when tracking because the individual tracks feel bigger sounding.
A common practice for mixing engineers is to switch between pairs of monitors to compare how the mix sounds. It is crucial to employ a speaker switcher when doing this because it allows for an immediate change without giving the ears time to adjust to the differences, and it eliminates pops and clicks that can damage the speaker. AMS offers several different options for monitor management such as:
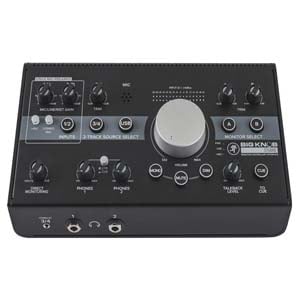 1. Mackie Big Knob: Active desktop audio control system with level control, studio monitor selector, input source selector, talkback mic, and headphone control.
2. Presonus Monitor Station V2: Manage multiple audio sources and sets of monitor speakers from your desktop.
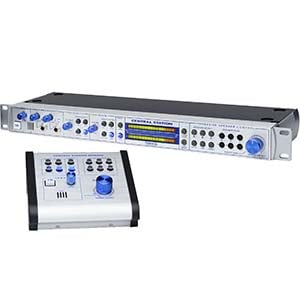 3. Presonus Central Station Plus: Passive audio path with three sets of analog and two sets of S/PDIF digital inputs. Three stereo speaker outputs, two headphone outputs, talkback mic, and main volume remote.
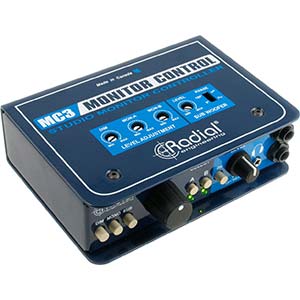 4. Radial MC3: Passive studio monitor switcher with headphone amp, separate subwoofer control, and mono sum.
 5. Behringer Control 2 USB Studio Control Communication Center: Monitor switcher with a built-in audio interface.
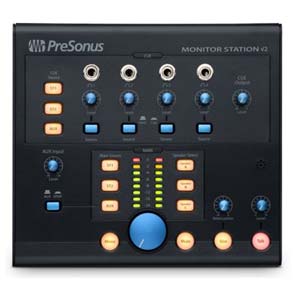
PreSonus Monitor Station V2 Desktop Studio Control Center
Mackie Big Knob Studio Monitor Controller And USB Recording Interface
Behringer Control 2 USB Studio Control Communication Center
Room Control
Room Control
Due to potential nonlinearities that can exist in a speaker system’s frequency response system, monitors can be one of the weakest links in the audio chain. The sonic character of a speaker is often altered by interactions with a room’s frequency response, leading to unpredictable peaks and dips. Speakers are one of the most subjective tools in a production studio due to the “tastes” of the user when factoring all of the different sound, size and design types available. To make matters more complicated, identical speaker systems sound different in various room environments due to the impossibility to match dimensions, materials and furnishings.
Most project studios are in a bedroom, spare room, basement, or garage. These are less-than-ideal recording environments and how the room sounds has a big effect on how the music turns out. Sound waves bounce around the room and cause reflections (reverberation and echoes). Being that most home studios are small, and sound travels fast, when you sit and listen to your monitors, you hear the reflected sound as well as the original sound. Taming these reflections will improve your ability to clearly hear your music.
To help make the sound of your room more predictable, there are a few things you can do:
 1. Use bass traps to reduce excessive bass buildup in room corners.
2. Keep the room/equipment layout symmetrical throughout the room so the left/right and front/rear imaging is consistent.
3. Shape the room’s sonic character by using absorptive and reflective surfaces.
Beyond careful acoustic design and construction, variations in frequency response can be reduced by tuning speakers to the room’s acoustics. There are a few different options for this such as:
1. Basic EQ controls that may be present on the monitor itself.
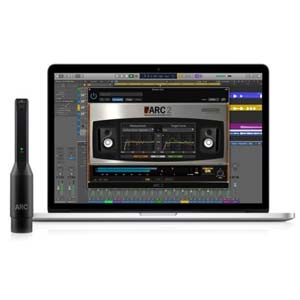 2. IK Multimedia ARC 2point5 Advanced Room Correction The ARC System 2.5 is a break-through affordable solution for acoustic room correction. Now you can tune your studio to perfection with the world’s most effective room correction system which includes a highly accurate MEMS measurement mic.
Auralex Project2 Roominator Studiofoam Acoustic Foam Room Kit Charcoal
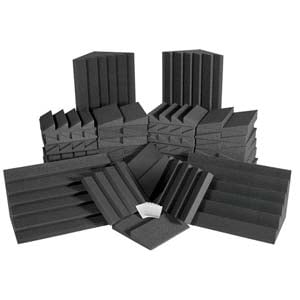
Auralex AlphaDST Roominator Studiofoam Acoustic Foam Room Kit Charcoal
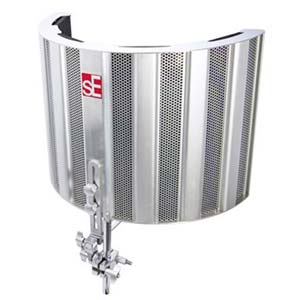
SE Electronics Space Portable Acoustic Control Environment
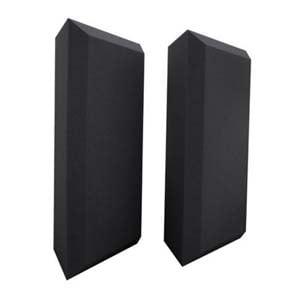
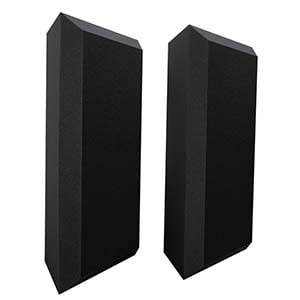
Ultimate Acoustics UA BTBG Bass Trap Bevel 1Pair
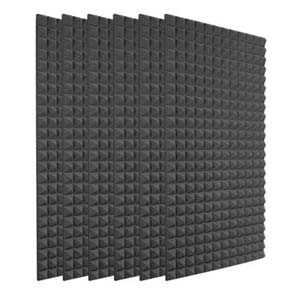
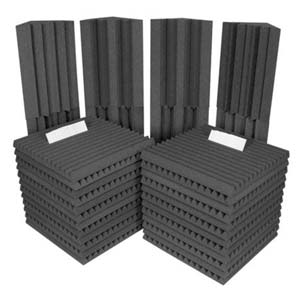
Auralex 2PYR24CHA 2 Inch Studiofoam Pyramids 24"x48" 6 Pack Charcoal
Ultimate Acoustics UA-WPBV-24 Wall Panel Acoustic Foam 1Pair
Headphones
 Headphones are another staple in all studios and serve multiple purposes. Mixing engineers tend to like them as an alternate reference to studio monitors. Headphones remove the acoustical sound from the room and make it easier to spot anomalies in a recording. They also provide reference to performing musicians being captured with a microphone by providing isolation from other sound sources and eliminating the sound of click-tracks, feedback, and other sounds from bleeding into the mix. This significantly reduces artifacts and produces a better sounding recording.
In addition, headphones are excellent for spatial positioning because they remove you from the room’s acoustic environment. Not to mention, they’re portable so you can take your favorite headphones with you. Listening to a mix with both monitors and headphones is beneficial.
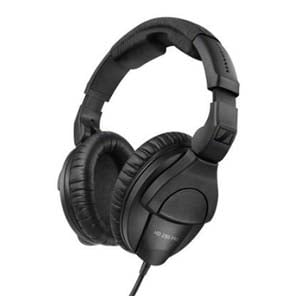
Sennheiser HD 280 PRO Closed Back Around Ear Professional Headphones
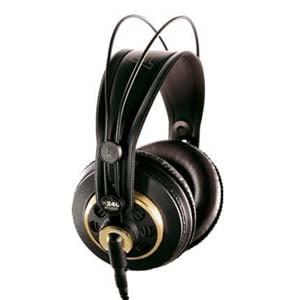
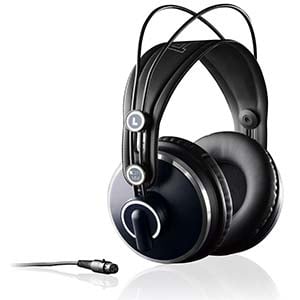
AKG K240Studio Professional Over Ear Semi Open Studio Headphones
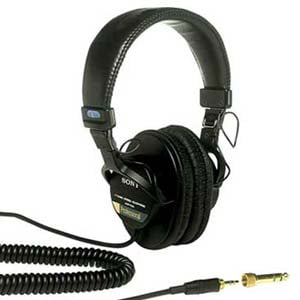
Sony MDR7506 Professional Stereo Headphones
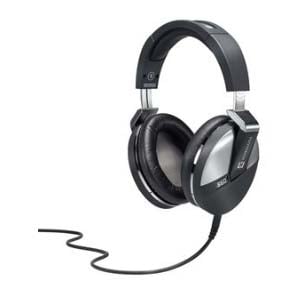
Ultrasone Performance Series 860 Headphone
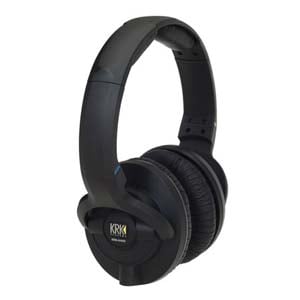
KRK KNS6400 Closed Back Studio Headphones
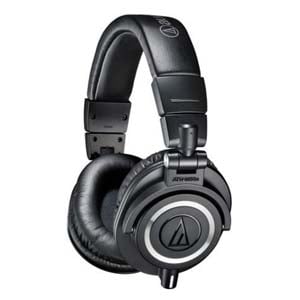
Audio-Technica ATHM50x Professional Monitor Headphones Black
Tips & Tricks
1. When you first buy a pair of monitors, listen to your favorite music on them for hours on end. This will help loosen up the monitor while also getting you familiar with how they sound. If you know an album like the back of your hand, you will recognize how the monitor replicates the sound. This will help you when mixing in the future because you will know the strengths and weaknesses of the speaker.
2. The engineer should be seated as closely as possible to the center of the sound field. If you are closer to one speaker than another, that speaker will sound louder and you may be tempted to inappropriately pan instruments or boost an entire side of the mix. Always use a visual aide such as the main output VU or display meters in your D.A.W. software to guard against this.
3. Absorptive and diffusive materials can help make sure the room’s reverb time is both low and smooth over the audible range. These materials can also keep large reflections within the room to a minimum.
4. Place diffusers at the rear part of the room.
5. Angle the monitors symmetrically toward the listening position in both the horizontal and vertical planes.
6. Our ears perceive recorded sound differently at various monitoring levels. Loud volumes help us to perceive high & low frequencies in the mix. At low volumes these frequencies seem deficient. Monitor at moderate levels that are likely to be encountered in the average home. Ear fatigue and potential hearing damage can happen from prolonged exposure to high SPLs (sound pressure levels). If you have to shout to communicate in a room, your mix is too loud.
7. Check your mix in both stereo and mono (and surround if applicable). Proper attention must be paid to phase cancellation problems. The phase of a waveform describes where it is in its cycle at any given time. Phase cancellation occurs when two signals of the same frequency are 180 degrees out of phase with each other. This can result in certain frequencies being cut, boosted, or inaudible all together.
8. To reduce sound reflections coming out of your speakers, absorptive panels will help tame high and midrange frequencies. Hang them so that they’re at the level of your speakers on the wall behind you. Also put panels on the side walls where the speakers are pointed. If you have a low ceiling, an overhead diffuser will also help.
9. Hanging panels at the height of your speakers in the corners of the room will also help absorb sound that may bounce around behind the speakers.
10. Standing waves are created when bass tones reflect around your room and bounce into each other. The result could be that your bass sounds exaggerated which results in a mix that’s short on bass, or that some of the bass gets cancelled out, resulting in a mix with too much bass. Bass traps can tame standing waves.
11. To find out if you have a problem with standing waves, sit in front of your monitors and carefully listen to one of your favorite CDs. Lean forward or backward a bit and listen to hear if the amount of bass changes as you move. Next, walk around the room and listen for places where the bass seems to be louder or softer, or drops out completely. If so, you need bass traps. The most common placement for bass traps is in the corners behind you when you’re sitting at your desk. After placing the bass traps, do the listening test again. You may have to move the bass traps around little until you find out where they work best.
Accessories
Throughout this guide we’ve mentioned several products that will enhance your monitoring system. The following products are recommended for the ultimate listening experience:
Power conditioners
Speaker stands or decoupling stands (or both)
Quality cables
Room treatment
Monitor switcher
2nd pair of monitors
About the Author - Headsnack
Headsnack has specialized in creating training and marketing materials for some of the biggest names in music equipment retail, for over 12 years. His Training Snacks brand (http://www.trainingsnacks.com) has produced several pro audio category and product training segments which can be found on YouTube and in written form on AmericanMusical.com.
As a musician, Headsnack is a positive-minded producer, performer, and lyricist who specializes in electronic beat-making and writing hilarious songs that mock humanity. His music, which has been described by fans and reviewers as everything from “throwback boom bap” to “futuristic”, has been licensed to several artists, labels and films including Public Enemy, Sky Mall, and the Independent Film Channel. His viral-style YouTube videos have garnered over 60,000 views and he has also DJ’d for various clubs and parties for over 15 years.