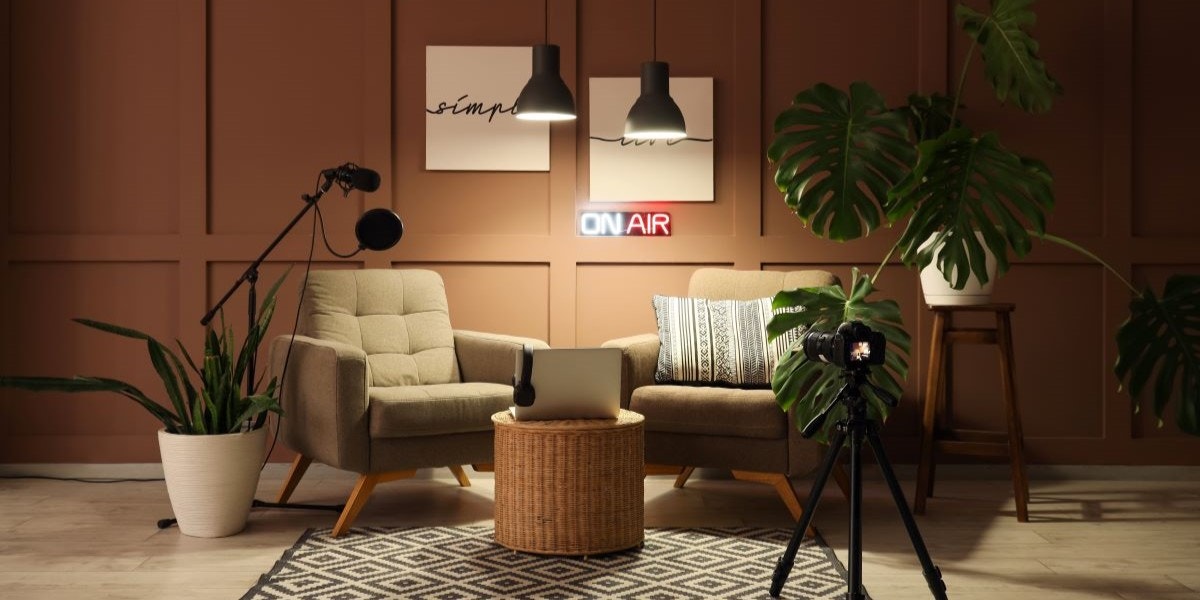
These days, it’s easier than ever to start your own podcast and make it sound professional. And you definitely don’t need an expensive high-end studio to do it. A $300 to $500 setup can sound nearly as good as a $3,000 rig, as long as your room and mic technique are solid.
Where you record determines a big piece of how the final product is going to sound. Plenty of successful podcasters record in spare bedrooms, home offices, or even closets with a pretty simple setup. All you really need is to cut echo, block background noise, and pick a microphone that fits how you'll record.
We’re going to get into choosing a space, picking your equipment, arranging your recording station, and building a setup for any budget, whether you have $300 or $3,000.
Choose Your Space
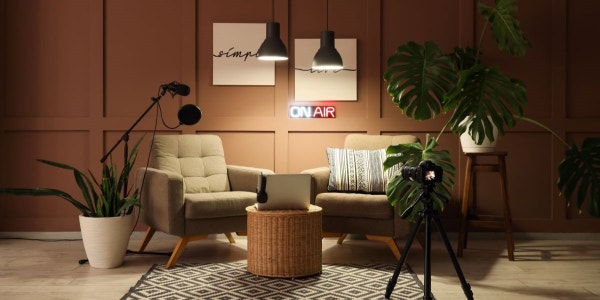
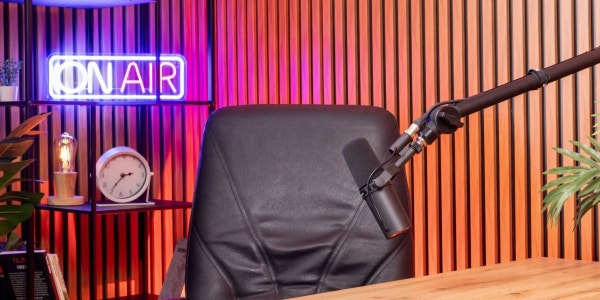
So, what makes a good recording room for your podcast? Ideally, you’re going to want to pick a spot that has minimal to no echo. Try to avoid kitchen areas and purely empty rooms; that’s where you likely have the most echo. You want your space to make it easy for just your and your guests’ voices to get to the microphones with as little disruption as possible — no sound waves bouncing off the walls.
Now, say you do have a spot that carries a little bit. You can easily fix it by adding in rugs, curtains, bookshelves, basic acoustic panels, and any soft furnishings to do the job. Soft things like rugs, sofas, and curtains absorb the sound waves, which prevent any room for sound waves to ricochet.
Get the Gear Essentials
Getting all the gear comes next. Here’s where you can start jotting down your shopping list, browse around and see what other podcasters are using. Here are some of the essential pieces of gear you need to start a podcast.
Audio Interface/Mixer and Recording Software
When thinking about recording your podcast, you’ll need a few things: a computer, an interface or mixer, and recording software. Most modern computers will work for recording a podcast. Considering how advanced the software has gotten over the years, it really doesn’t take much computing power anymore.
An audio interface or mixer basically acts as the bridge between your microphone and the computer, converting the sound into digital audio signals that your recording software can process.
For audio interfaces, the Focusrite Scarlett 2i2 Gen 4 and the Solid State Logic SSL 2 MKII are without a doubt solid options if you want to start small — like just you. But if you’re thinking about expanding and having more guests in the future, consider an interface with more inputs like the Focusrite Clarett Plus 4Pre or the Universal Audio Volt 476p. This will give you multiple inputs to expand upon as you grow your podcast, and it’ll also make it easy to take advantage of the monitoring capabilities with adjusting the input gain and headphone mix.
Most audio interfaces come with software to adjust channel levels, but a lot of podcasters like having more hands-on physical control of their sound. That’s where mixers come in. Mixers have all the functionality of an audio interface but with physical buttons, sliders, and knobs to let you dial your sound in real time — like the RODECaster Pro II.
There’s a couple routes you can go when it comes to recording software. You can go down the free or paid software route.
Here are some recording software options:
| Software | Montly Cost | Audio | Video | Best For |
| DaVinci Resolve Studio | One-time purchase | Excellent | Excellent |
Podcast studios
|
| Adobe Audition + Premiere Pro | Subscription | Excellent | Excellent |
Adobe-based workflows
|
| Logic Pro | One-time purchase | Excellent | Limited |
Audio-focused podcasts (Mac only)
|
| Pro Tools | Subscription | Industry-standard audio | Limited |
High-end audio production
|
Obviously, the paid software is going to give you more advanced tools and features to mix your audio and video. My personal recommendation would be going with DaVinci Resolve Studio, that way you can mix your audio and video together, while giving you options to add graphics, titles, color corrections, noise reduction, compression/EQ and exporting options.
Microphones
Microphones are one of the defining pieces of gear for podcasters, next to an audio interface and recording software, and that’s because they determine the quality and detail of the sound source captured.
There’s two different categories you’ll want to start to narrow down your selection from, because there’s already so many out there. You have USB and XLR microphones, which are basically how they connect to your sound receiving source, either your computer or an audio interface paired with a computer.
Choose USB if:
- You record alone
- You want the simplest setup
- You don’t plan to connect multiple mics soon
Choose XLR if:
- You’ll be recording multiple people in a room
- You want more control over gain and routing
- You prefer gear that can grow with the show
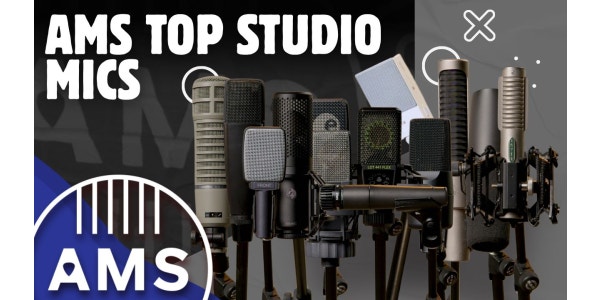
Here are a few recommendations depending on whether you choose a USB mic or an XLR microphone:
USB:
XLR:
Once you pick your microphone, you have to get the accessories, like a microphone stand and a pop filter for the plosives — unless your mic comes with one.
Headphones
You’ve probably already noticed from watching podcasts that every podcast host ever is wearing a pair of headphones for monitoring. Headphones let the hosts and guests hear what the microphone is capturing in real-time and allows them to adjust the levels, tone, and background noise. Without them, issues like plosives, echo or bleed from other sources of sound wouldn’t be picked up until later in the production process, and usually by then it’s already too late to cover up. This is especially important when you have other guests on or even carry out an in depth conversation because there’s likely a 99.9% chance that recording it only happens one time around.
So, if headphones are that important to have, which ones should you get for your podcast? Well, you have closed-back headphones and open-back headphones. Closed-back headphones provide solid sound isolation from any external noise, which is great for preventing any of that getting picked up from the microphone — exactly what you want for a podcast. Open-back headphones are basically the opposite, offering a more natural and spacious soundstage, but they leak sound.
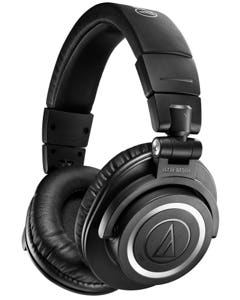
If I were running a podcast, I’d go with the closed-back headphones because of the excellent isolation. This is pretty much the go-to choice for podcasters. Here are some good options to start off with:
- Audio-Technica ATHM50x headphones
- Sennheiser HD 280 PRO headphones
- Shure SRH840A headphones
- Beyerdynamic DT770PROX headphones
Take a look around before you pick a set. You’re going to be wearing them for decent stretches of time. And if you get a chance, try on a pair of closed-back headphones to make sure they’re comfortable.
Set Up Your Podcast Studio Space
By now you’ve probably realized that you don’t need to have a large space or spend an enormous amount of money on getting your podcast going. A podcast studio really just needs to be somewhat comfortable, organized, and optimized for clear audio.
Before each session, check to make sure all audio inputs are working and balanced with no clipping or distortion. Spending a minute testing equipment can prevent losing an entire episode to a technical issue that could have been caught beforehand. It’s recommended to leave enough headroom for when you master it later by having the levels peak below 0 decibels.
The layout should have each microphone placed about 4 to 8 inches from each speaker’s mouth, and slightly off centered to reduce harsh sounds from plosive consonants like “P” and “B.” Background noise should be minimized as much as possible. Turn off fans, silence phones, close windows, and address any sources of hum or echo before recording begins. Small distractions that seem insignificant in person can become very noticeable when listening through headphones.
Choose chairs that provide comfortable seating for both you and your guest speakers — and preferably nothing that squeaks or adds any distracting noise that your microphones can pick up. Also, keep the tables organized and free of any clutter if you can. Last thing you want is someone knocking over a cup of coffee and then needing to pause the show to check if anything got damaged and needing to clean everything up.
A helpful tip you might like is to record a quick test before each episode so that way you can hear how it sounds and iron out anything before the real take starts.
Choose a Distribution Services
Ready to transmit your podcast to the masses? There are plenty of distribution services you can use. You’ll probably hear everyone say they use a different service, so it makes sense to take some time out and look at where you what you’ll get the most value.
Most of these distribution companies deliver to Spotify, Apple, YouTube, Amazon, iHeartRadio, and plenty of others.
Here are just a few you look into to get you started:
- Spotify for Creators
- Buzzsprout
- Libsyn
- Captivate
- Podbean
These services also provide analytics, audience insights, and monetization features that help podcasters grow and manage their shows efficiently.
Build Your Podcast Studio on Any Budget from AMS
All in all, starting your own podcast doesn’t have to be expensive. Even for those on a budget, it’s pretty easy to do. A budget setup will get you started and then as you grow, you can always add on.
- Budget Setup ($300-$500) - basic gear to get started
- Mid-Range Setup ($500-$2,000) – podcast upgrades for better sound and workflow
My best recommendation is to start simple and then improve your setup as you become more familiar with the gear and grow the podcast. As long as you have good audio, you won’t have to worry about the expensive stuff.
If you have any questions, feel free to reach out to our experts at 800-458-4076, they can steer you in the right direction if you’re thinking about pulling the trigger on anything. Good luck on getting your first episode out there!
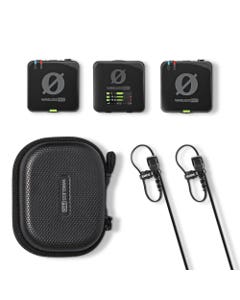
Rode Wireless Pro Dual Channel Compact Wireless Microphone System
Special Price $299.00
Shure MV7K-BNDL Podcast Hybrid USB-C And XLR Dynamic Microphone
Special Price $269.00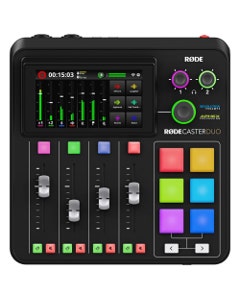
Rode RodeCaster Duo Compact Integrated Audio Production Studio
Special Price $499.00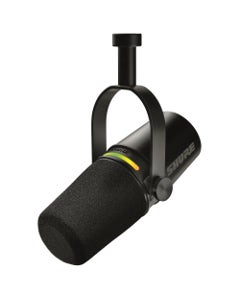
Shure MV7K Podcast Hybrid USB-C And XLR Dynamic Microphone Black
Special Price $255.00
Universal Audio SD1 Standard Dynamic Microphone
Special Price $249.00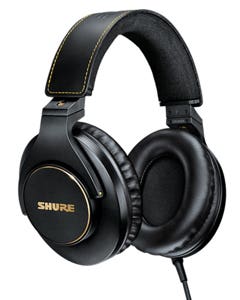
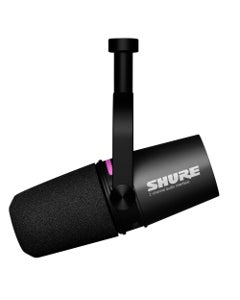
Shure MV7i Smart Mic with Audio Interface USB-C
Special Price $389.00