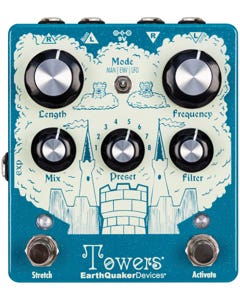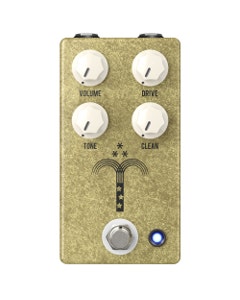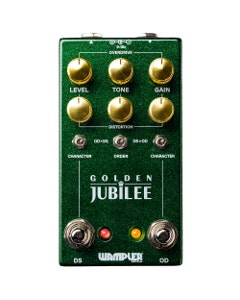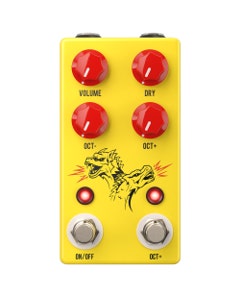
Did you know there’s a much better way to clean up and widen your guitar sound simply by routing your pedals differently? A much better way to define the effects you’re using without them sounding muddy? For a while I was completely unaware why my tone sounded so muddy, even when using top-notch pedalboards. I noticed after playing around the club circuit in college that guitarists were using their amp’s effects loop. But why…?
Well, I learned the key to getting rid of muddiness is all about the four-cable method (4CM). Here’s how it’s done and why you should adopt this into your setup.
How Does the Four-Cable Method Work?
The four-cable method is a way to route different pedals through specific parts of your amp, namely before and after the preamp. Some pedals you want before, and others you want after.
The preamp section of any amp naturally compresses the signal that goes in. So any effects being sent through the preamp will also be compressed, which produces the muddy sound. The trick is to put only the pedals you want compressed (usually distortion and EQ) through the front of the amp and any pedals you don’t want compressed (time-based and modulation effects) through the amp’s effects loop.
You get one cable from the guitar to your pedals, another going from the pedals to the amp, a third running from the Effects Send into your time-based pedals, and a final, fourth cable going from your time-based pedals to the amp's Effects Return.
Advantages to the Four-Cable Method
So why should you use the four-cable method? Wiring up four cables instead of two definitely takes an extra minute during soundcheck, but the payoff is massive. Here are some of the advantages of adopting this into your setup:
- Enhanced tone shaping: By separating your gain-based pedals from your modulation, you gain total control over how your effects interact with each other. Your delays will trail off naturally, and your choruses will sound wide and pristine.
- Preservation of Amp’s Natural Character: You bought that expensive tube amp for a reason. This method lets your amp's natural overdrive shine without being dampened by reverb and delay pedals sitting in front of the input.
- Improved Signal Quality: Properly routing your effects drastically cuts down on unwanted noise, hiss, and that annoying muddiness.
Getting a clear, defined sound out of your amp and effects makes all the difference. Once you hear it, you’ll notice the impact it has on your sound’s clarity.
Equipment Needed for the Four-Cable Method

To get started with the four-cable method, here’s what you’ll need:
- Guitar
- Guitar Amp with effects loop
- Effect Pedals
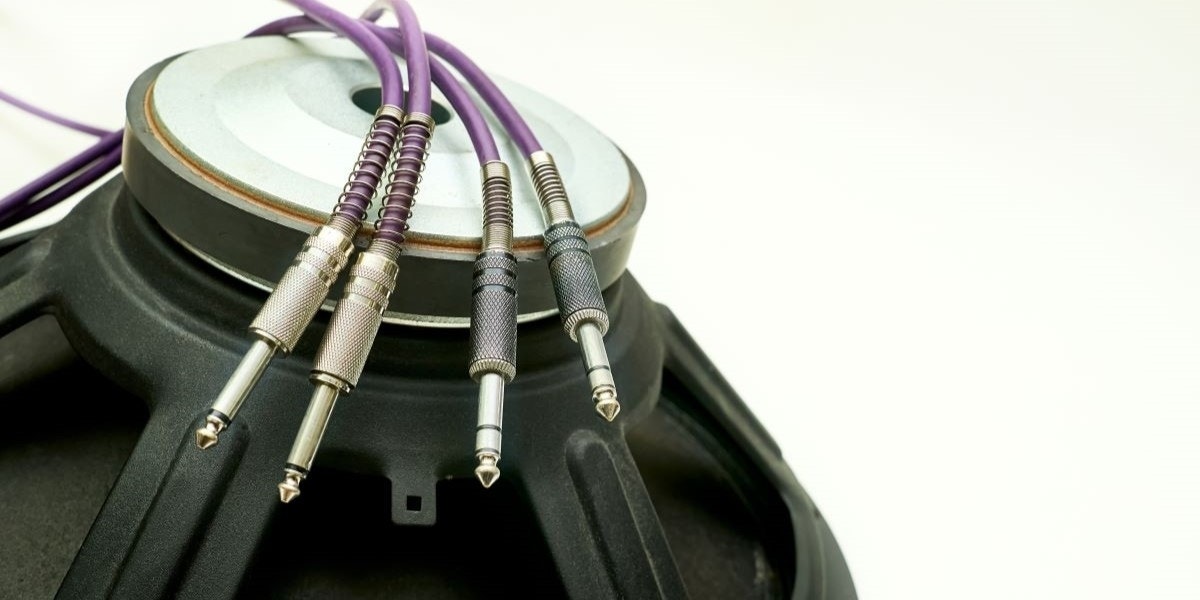
- Instrument Cable
- Pedal Cables
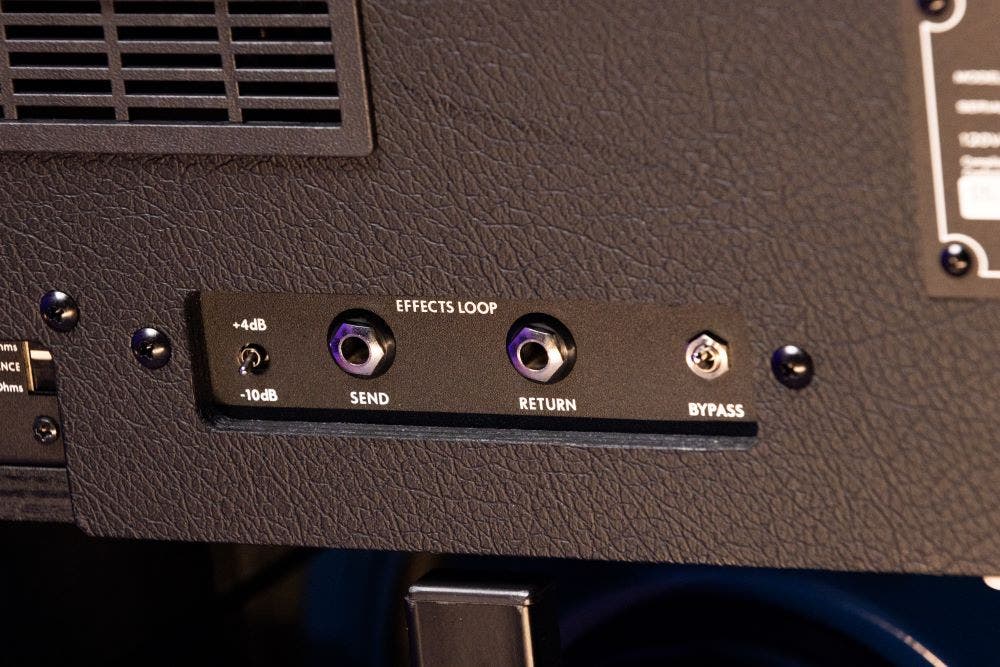
Not all amps have an effects loop, so be sure to check first and see if yours does. You can look at the back panel of your amplifier for jacks labeled "Send" and "Return." If your amp doesn't have an effects loop, check the manual for alternative configurations. If that's not an option, you might end up needing to use a different amplifier that offers more advanced routing.
Setting It All Up
To start the four-cable method, we’re going to establish the foundation and organize our pedals in a specific way. It’s pretty much the same for those who use all-in-one or multi-effects pedalboards.
Essentially, you want to place your wahs, compressors, EQ, and overdrive/distortion pedals before your amp’s preamp section, and save the time-based pedals for after the preamp.
Front of amp (before preamp):
- Wah
- Compressor
- EQ
- Overdrive
- Distortion
Effects loop (after preamp):
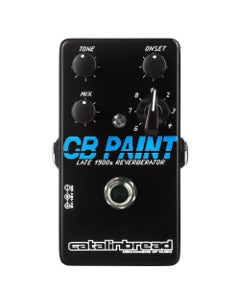
- Reverb
- Delay
- Chorus
- Flanger
- Phaser
Using Individual Pedals
Alright, let's get it set up! Grab four instrument cables and follow this signal path if you’re using individual pedals:
Cable 1: Guitar --> First Pedal in Front of Signal Chain (Comp, OD/Distortion, etc.)
Cable 2: Last Front-of-Amp Pedal --> Amp Input
Cable 3: Amp FX Loop Send --> First Pedal in Effects Loop (Modulation Pedals)
Cable 4: Last Effect- Loop Pedal --> Amp FX Loop Return
Once everything is all plugged in, power on your amp and test your signal! Take note if you hear any noise or buzzing and ensure your cables are good to go. Doing a quick diagnostic check now helps avoid troubleshooting later when you’re in the zone.
Using a Multi Effects Pedal
If you’re using a multi effects pedalboard like a Line 6 Helix or a Boss ME-80, the concept remains the same, but the physical connections happen directly on your unit's I/O panel. Here’s how you’re going to want to get it lined up:
Cable 1: Guitar --> Multi Effects Input
Cable 2: Multi Effects Send --> Amp Input
Cable 3: Amp FX Loop Send --> Multi Effects Return
Cable 4: Multi Effects Output --> Amp FX Loop Return
Your four-cable method signal path is now fully set and operational. This configuration effectively creates two separate signal paths: one dedicated to effects preceding the amplifier and another for effects following the preamp.
Take Control of Your Tone
Mastering your gear is a journey, but the four-cable method is one of the most effective ways to instantly upgrade your sound. Fixing a muddy mix can be as simple as rearranging the order of your signal flow coming from your pedals.
Take a few minutes to unplug everything, grab a few extra cables and try the four-cable method. When you go to press on your delay stombox, you’ll notice how much clearer and more articulate your sound becomes… It’s like night and day!