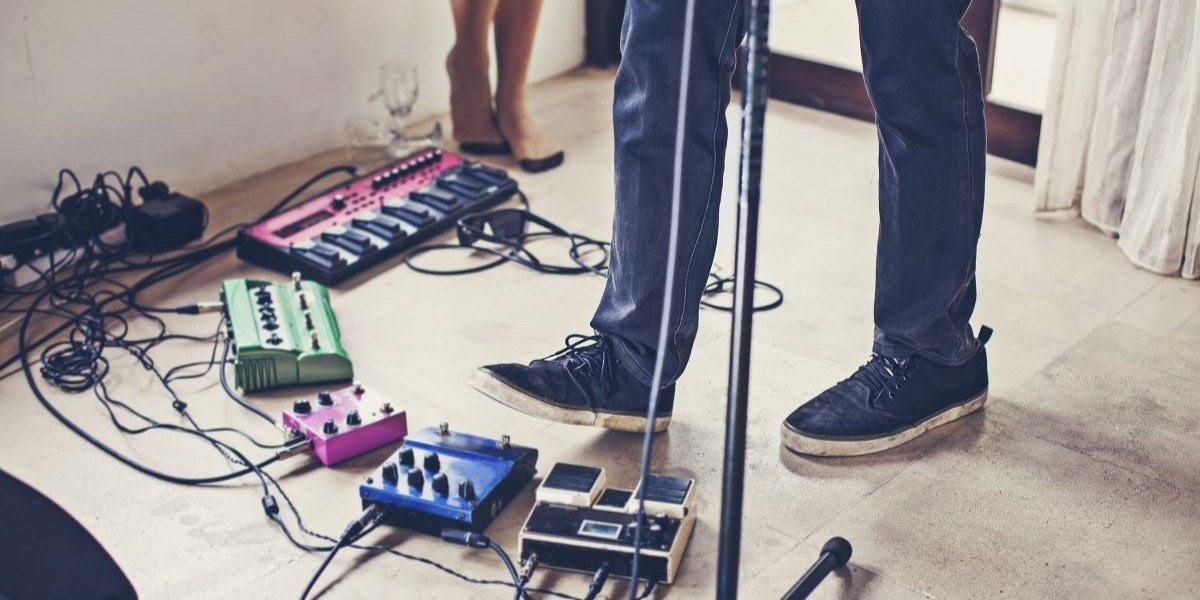
One person takes the stage, but an entire band’s worth of sound comes out. How do they pull off this wizardry!? They use a looper.
Musicians like Ed Sheeran, Reggie Watts, KT Tunstall, and plenty of others have been using loopers to blow people’s minds for a long time. But it’s not something that only the best of the best can do. It’s actually more accessible than you might think. Ready to ditch the bandmates and dive into the wacky world of looping? Here are a few tips to get you started.
Grab Yourself a Looper
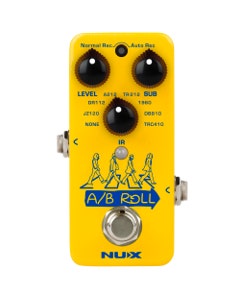
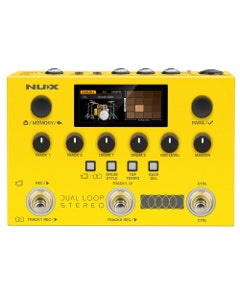
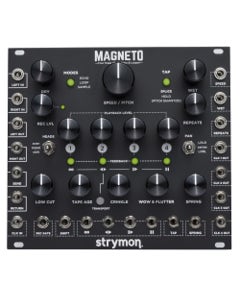
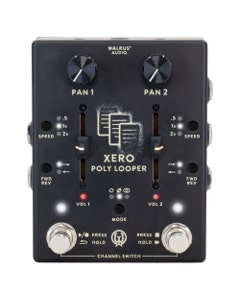
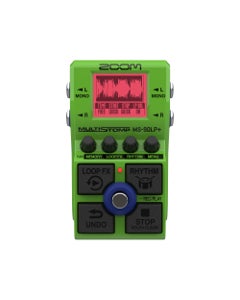
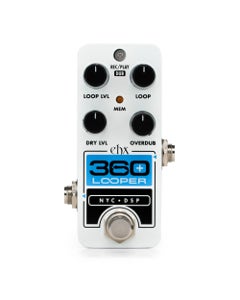
The first step to start looping is to get a looper — obviously. There are tons of different loopers out there, and it’s important to choose the one that best fits your workflow. Every musician does their looping a little different, so you want to pick one that works for your style.
Here are some considerations to help you choose the right looper:
- How many instruments do you want to loop: Many loopers only have one input. So if you want to loop multiple instruments, like guitar, bass, drum machines, vocals, etc., choose a looper with enough I/O to support your entire arsenal.
- How many channels do you want: Do you want to be able to add or remove specific parts in real time — for example, take out just the percussion for a soft chorus — or do you just want to solo over some chords? Independent channels give you more control over looping different parts, but they’re also more complicated. I find it best to have at least a dedicated channel per instrument.
- What’s your ideal workflow look like: Do you want something simple where you click a button to record, start, and stop, or do you want some extra features with menus, effects, and other functions like reverse loops and time stretching? Remember, the more features, the more complicated the workflow (and learning curve).
- Do you like tapdancing: Would you rather control your looper with your feet or your hands. Most loopers have footswitches designed to be stomped on, but many musicians like to have their loopers on their desks and use their hands. Make sure your looper has buttons that work for your preferred “click” method — metal footswitches are no fun to hit with your hands…
When I first wanted to get into looping, like many newbies, I chose the cheapest option I could find, which was the Boss RC-1(technically it was the RC-2, but they don’t make it anymore). It’s a single-pedal looper, and it worked great! But I was looking to make more complex loops with various overdubs and parts dropping in and out. It gave me some great experience, but it really just sent me looking for an upgrade…
Think about what your ideal looping scenario looks like and pick the looper to fit. If you just want to practice soloing over a chord progression, a simple one-pedal looper will probably be fine. If you want to create full-on compositions in front of a live audience, something a bit larger with multiple channels, inputs, and extra functions would likely be more your speed.
Gather All Your Instruments
Got your looper? Good! Now it’s time to collect your arsenal of instruments. For most people, one instrument, like a guitar or keyboard, is plenty to start looping. You can play chords, add some lead texture, play some solos, and even add some percussion if you’re creative enough. Ed Sheeran only needs an acoustic guitar to do his crazy loops.
However, music doesn’t have any limits. So if you want to bring all the instruments to jam, that’s cool, too! Many loop-happy musicians like to use guitars, basses, keys, drum machines, and vocals to create ridiculous multi-instrumental loops. One of my personal favorites, Marc Scibilia, regularly uses an entire studio’s worth of gear for his loops, jumping from instrument to instrument. Just make sure your looper has enough inputs…
Good Idea: Use a Metronome
Sure, sure. You don’t need a metronome. But believe me, it helps immensely when looping. There’s nothing more embarrassing than having your loop ever so slightly off — especially if you’re playing with a band. They’re keeping time and your loop keeps getting more and more off as the song goes on. Plus, every time the loop repeats, you cringe in your head. It’s no good. Get a metronome. It’ll make sure your loops are perfectly on beat every time.
Luckily, most loopers have metronomes built in. If you’re looping live, have a pair of headphones on in-ears handy so the audience doesn’t have to hear the clicks counting you in.
Start with the Foundation
When starting a loop, I always like to start with the “foundation.” I think of it as the part that’s most consistent throughout the entire song, and it’s not always the same. Sometimes it’s a chord progression or rhythm guitar part. Other times it’s the percussion. Whatever part you think the rest of the song revolves around, that’s what you start with.
Keep in mind that this will likely loop for the entire song, so make sure it’s interesting. Sure, cowboy chords are great foundations to put all your other parts on top of, but they can also get boring if you have to listen to the same progression for four minutes straight…
Once you get the foundation down, you can turn off the metronome and take off your headphones. You can follow your loop from here.
Add Some Texture
Have your foundation looping? Good! Now it’s time to add some texture. Texture comes in many forms. It can be a little lead line (or a few). It can be a background vocal melody or harmonies. It can even be throwing in some unison drum hits to fatten up your percussion. These are the little things that take your loop from good to great.
As a guitar player, I like to pick chords over top of my “foundation.” For example, jump up the fretboard a bit and finger a power chord with the third-string octave. Then pick individual notes back and forth on the strings, maybe sliding to a different chord at some point. It adds a bit of movement, and since it’s higher on the fretboard, it easily stands out against the foundation.
When it comes to percussion, Dovydas (another fantastic looping artist) gave us some good advice when he visited the AMS Studio. He likes to layer percussion parts to give his loops some texture. He adds multiple unison hi-hats or snares with slightly different tones to fatten up the sound. Don’t underestimate the power of unison lines in looping!
Change It Up
The same loop going over and over can be boring after a while. Don’t forget to switch it up throughout the song. Start and stop your loop occasionally. You can add some drama to a beat drop by bringing the loop back in on the downbeat. Or maybe show your sensitive side by taking out the loop for a chorus, leaving just you and your instrument.
If you choose a multi-channel looper, you can add or remove individual parts/instruments throughout the song, leaving the rest of the loop intact. It might take some tapdancing, but it’s a really cool way to add variety to your songs.
Changing it up is what takes your looping to the next level — and what many beginners miss. It’s a powerful way to keep the audience engaged.
Pro Tip: Don’t forget about yourself! It’s easy to sometimes feel stuck in your loop. But don’t just stand around with your loop playing, waiting for the solo section. Drop the loop for a second and play something yourself or add some changing comp lines to go along with the loop.
My Favorite Loopers
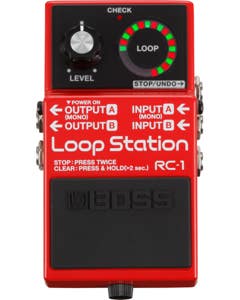
For beginners or people looking to make simple loops, you can’t beat the Boss RC-1. It’s simple, straightforward, and sits at a really good price point. Plus, its standard stompbox size means it fits easily onto any pedalboard. It's what I started on, and it'll be good for you, too!
If you’re looking for a multi-channel desktop setup, the Boss RC-505 is a solid choice. With five independent channels, two mic inputs, and two instrument inputs, it can serve as the hub for your entire looping setup. This is Dovydas’ preferred looper, but you really can’t go wrong with any Boss Looper. They’re all amazing.


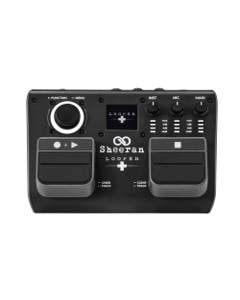
My favorite looper that’s currently on the market is the Sheeran Looper X. It has four independent channels with four combo XLR/TRS inputs and customizable workflow and routing options. It was designed by Ed Sheeran, so you know it can handle any looping request you can throw its way. And if you want something more streamlined, check out the simplified Sheeran Looper +.
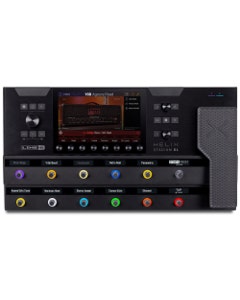
Adding a looper to your setup means more gear to drag around. If you want one piece of gear that works for everything, a multi-effects processor could be the solution. I use the Line 6 Helix, and its onboard looper is surprisingly intuitive. I like it in 6-Switch mode, but you can also use 1-Switch mode for simplicity or Shuffling mode for surgical control.
Picking a looper is a very personal choice. It all depends on your preferred workflow. These are my favorite loopers I’ve worked with, but keep in mind that what worked for me might not work for you. The best thing you can do is try out a few to see which workflows fit your style.
And Boom, You’ve Got a Loop
Looping is a fun and creative way to make one person sound like a whole band. It might take some coordination and arranging, but when it all comes together, there’s hardly anything that can compete with the “wow” factor.
If you’re ready to get started on your looping journey, all you need is a looper and an instrument. Whether you want a standalone looper or a multi-effects unit with a built-in looper, you can find all your looping essentials right here at AMS. And if you have questions, give our Gear Experts a call! They’re always happy to nerd out and give you some advice.
Happy looping!