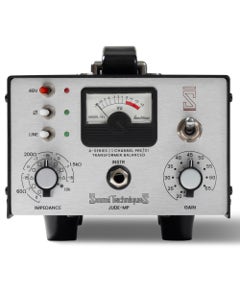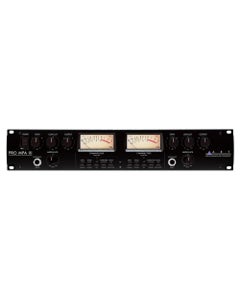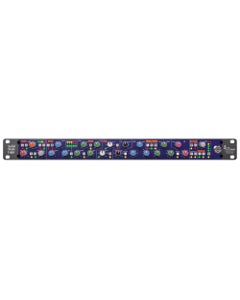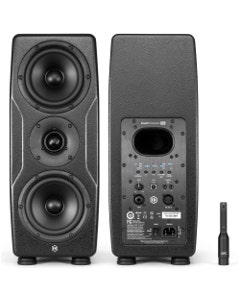
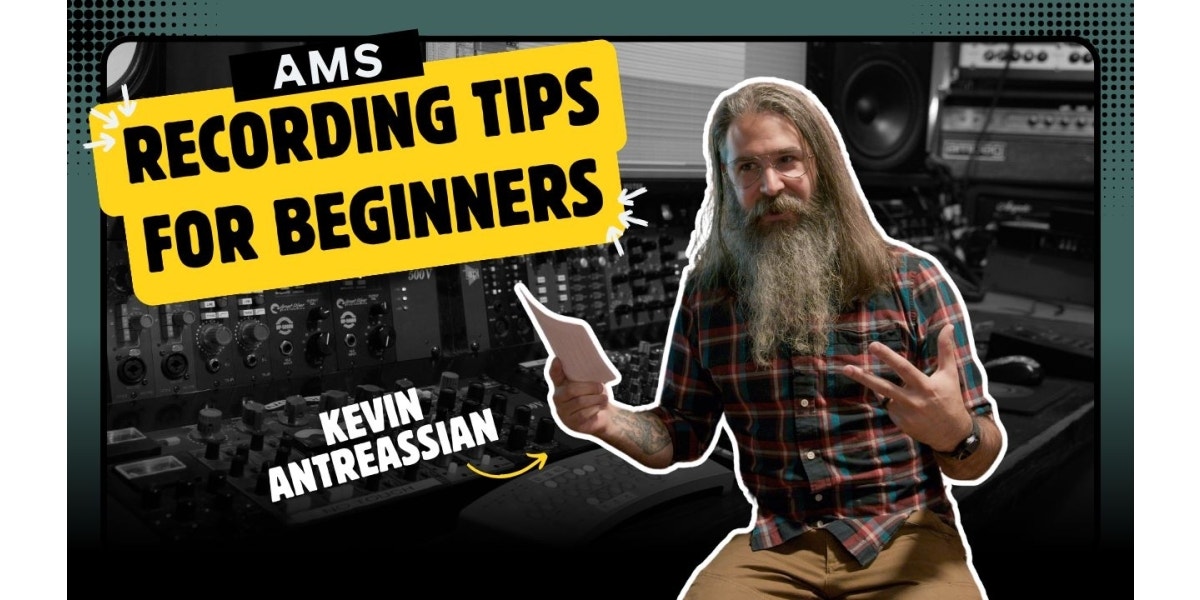
Ever wonder why your recordings always suck? It’s because you didn’t listen to Kevin Antreassian! We got to sit down with the producer-extraordinaire to ask him for all the little tips to help us make our recordings sound better — which we’ll then pass on to you. Here are Kevin A’s tips for making better recordings in the studio.
Make Sure the Source Sounds Great
Just like with most things, the quality of a recording starts at the source. It’s like they always say: “Put crap in, get crap out.”
Kevin’s #1 tip to make your recordings sound better is to make absolutely sure your source sounds great. Not good, great. He says, “the source is literally the biggest thing.”
Start by dialing in your guitar, amp, cabinet, drums — whatever is making the actual noise. Don’t proceed past this point until it sounds good. And if it doesn’t troubleshoot why.
Pro tip: For guitarists and bassists, the cab is the filter for everything. It’s a great place to swap things out and experiment to take your sound from good to great.
Listen to the Source in the Room
Not only does the gear need to sound great, but it also needs to sound great in the room. Room acoustics make a huge impact on your recordings, so take the time to listen to how the source sounds in your space.
Walk around the room to find dead zones or drop-outs. It doesn’t mean you can’t use your room if you find some; it just means you have to place your mics accordingly. According to Kevin, his studio is a terrible recording room on paper. It has a gym above it! But over the years he’s learned to work with it and has made thousands of amazing recordings in this “terrible” space.
Find the weird spots and learn to wrangle them. Your space is like any other instrument: It can be amazing once you learn how to use it properly.
Choose the Right Mics
Even if your source sounds great in the room, the wrong mic will kill it. But unfortunately, there aren’t too many tips for how to choose the right microphone. According to Kevin A., it’s all about trial and error.
Use different mics to learn how they work and what they’re best for — especially in your unique space. If a mic sounds harsh, try moving it before swapping it out. Just do it over and over again until you learn which mics are best for which sources in your space.
Apply Corrective EQ
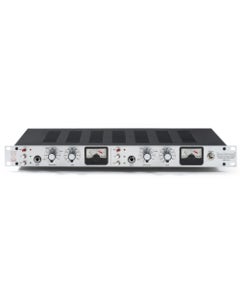
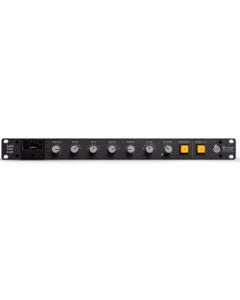
Kevin Antreassian recommends applying corrective EQ at the beginning of the process. And while there are tons of plugins, he prefers hardware. “Get your hands on something tactile that you can hear the sweeps.” What kind of EQs? Kevin recommends Solid State Logic. You can’t go wrong with any of it!
Mess around with the knobs until you find the sound that’s in your head. If you can’t quite find the right EQ, try a supplemental mic.
Of course, the first step to finding the “right sound” is proper ear training. It might be a more tedious part of the job, but it’s super important if you want your recordings to come out nicely.


Adjust Pre-Levels
Before you get to the actual recording part, get the band to start making some noise and adjust the pre-levels. And you don’t always have to be safe with it. When people start to see red lights, they instantly back off. Kevin says that’s not always the correct course of action. Sometimes he’ll intentionally record driven to distortion if it works with the sound of the band.
There are no rules in music. There might be “standard” practices to get the best recording, but at the end of the day, it’s all about what works for the sound you’re trying to capture.
Blind Tests and Shootouts
You think you have your sound down, but what if there’s another piece of gear that would make it better…? Now’s the time to swap out mics, cabs, amps, or anything else that could change the sound. Play around to see what sounds good — but only do it once you have the base down. It’s like any good science experiment; you can’t have too many variables running around.
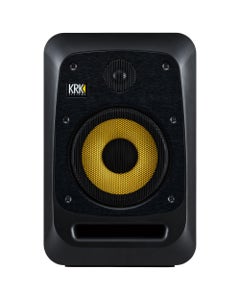
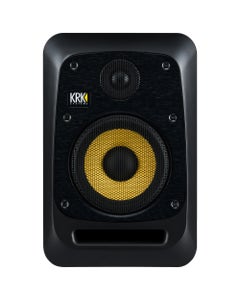
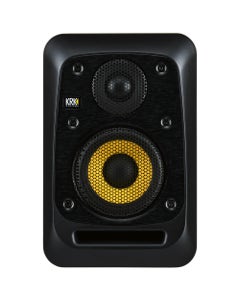
Make the Monitoring as Good as Possible
You know the feeling when you’re playing a show and everything sounds AMAZING so you really lean into the performance? Well, the same idea works in the studio.
Artists are going to play better and more confidently if they know they sound good, so really focus on making the monitor mix as good as possible. The closer you get to the final sound, the more confident (and better) the artists will be for their performance.
When it comes to vocals, Kevin suggests going hard on the compression. When he gets a loud and aggressive vocalist in the studio, he’ll sometimes hit them with 14-20dB of compression right in the monitor. It gives a closer representation to the final mix, which will then give them more confidence to belt it.
Most Importantly: Don’t Rush
One of the most important recording tips according to Kevin A. is to not rush. Recording is a process — and a nuanced one at that. Whether it’s setting up your source, building your tone, setting EQ curves, choosing and placing mics, or any other part of the process, really take your time to make sure it’s perfect.
Record Like the Pros with AMS
Studio work is an art form. Just like playing an instrument, it’s all about knowing how to use the equipment to create the sound that’s in your head.
If you’re ready to put Kevin Antreassian’s recording tips to use, check out all the recording gear right here at American Musical Supply. From mics and preamps to full-on consoles and rack gear, we have everything you need to build your dream studio — all with VERY fast shipping and 0% interest payment plans. Now get out there and bring your tracks to life!